
How To: Oreo Cupcakes
- Jan 30, 2015
- 2 min read
Amanda Surmeier
Love desserts but don’t know how to bake? I am here to help! In all my years of baking, I have never stopped changing recipes and searching for new ideas. Recently, I came across my favorite creation of all: The Oreo Cupcake. *angels come down from heaven singing* This cupcake can be completed in less than two hours, and will impress people for decades.
Ingredients:
½ cup butter, softened
1 ½ cups sugar
2 eggs
1 teaspoon vanilla
1 ½ cups all purpose flour
½ cup cocoa
1 teaspoon baking soda
¼ teaspoon salt
½ cup buttermilk
½ cup water
½ cup chocolate chips (any flavor)
½ cup crushed oreos
cupcake liners
For the Icing:
1 small package mini oreos for decorating
8 ounces (one package) cream cheese, room temperature
½ cup butter. room temperature
1 teaspoon vanilla extract
Directions: (So easy, a caveman could do it)
Preheat the oven to 375°. Line two 12-count cupcake tins with cupcake liners.
In a large bowl, cream butter and sugar until light and fluffy. (a good 30 seconds)
Add eggs one at a time.
Add the vanilla.
In a separate bowl, combine the flour, cocoa, baking soda and salt. (stir)
In another bowl, combine buttermilk and water.
SLOWLY, add the bowl of dry ingredients to the butter and sugar mixture. Alternate between adding the flour mixture and buttermilk mixture. *Careful, the flour will fly everywhere if you pour in too much.*
Fill the paper muffin cups ⅔ of the way full.
Bake 15-20 minutes or until the tops are not sticky.
Cool 10 minutes in the baking tins before removing them to a wire cooling rack.
For the Icing:
Cream together the butter and sugar.
Add vanilla.
Slowly add the powdered sugar until blended well, careful not to pour in too much and end up looking like you have a bad case of dandruff.
Chop ½ cup of oreos very fine.
Add to frosting.
Pipe on cupcakes after they’re cooled.
Top with a mini oreo. (Not for taste, they just look professional)
How to Pipe Like a Pro:
Use a thick star tip (Wilton 1D or 2D).
Start on the outside, moving in a clockwise circle until completely covered, ending with a point on the top center.
Following these simple steps, you will be baking like a pro in seconds!

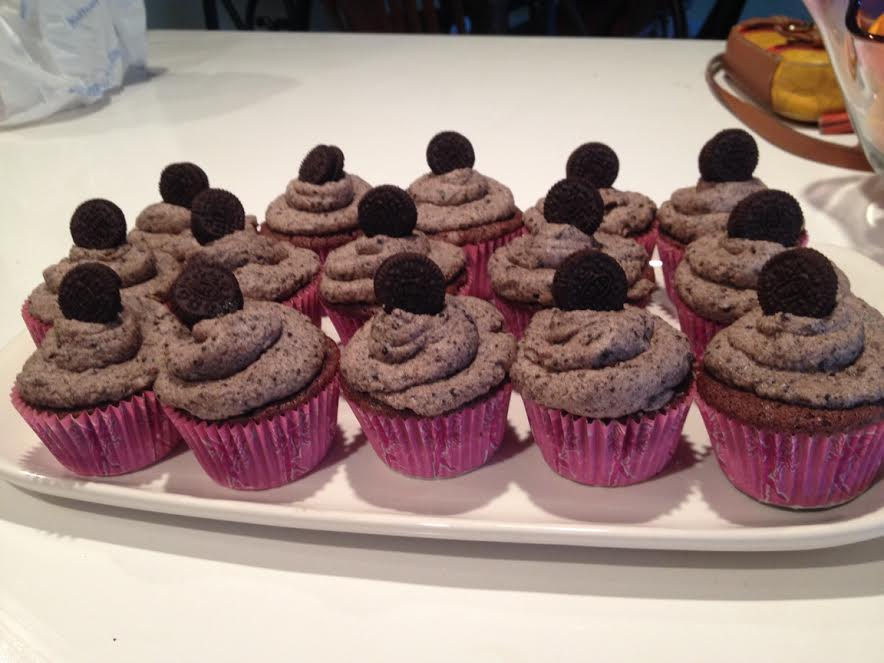
Pictures of the finished products

Visual how to for frosting
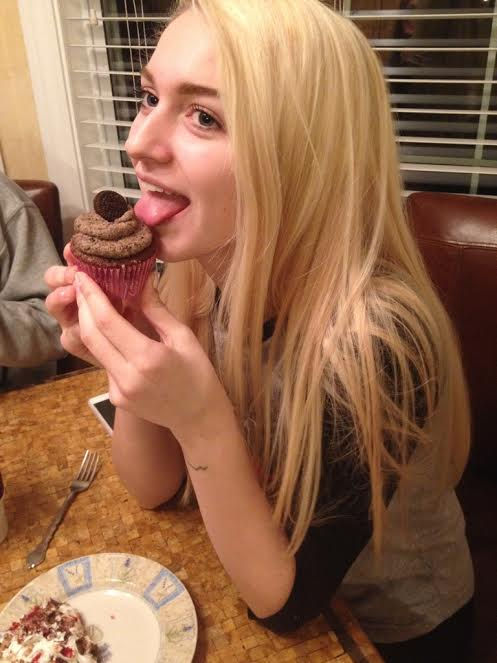

Students enjoying the delicious finished product!
Comments